The following images outline modeling to achieve a specific edge flow for a female torso.
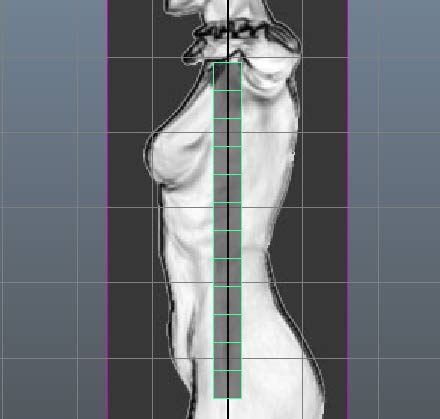
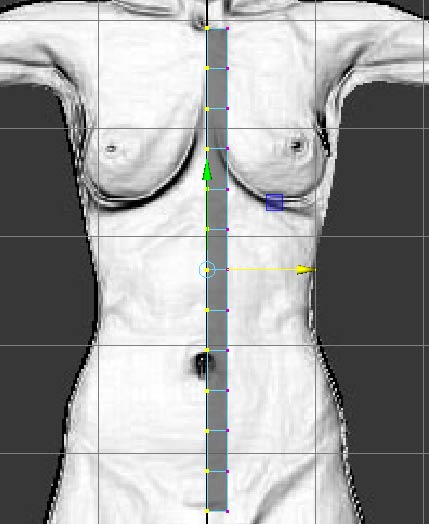
Start with a cube, with a dozen or so divisions in height. Allign the front and back faces to the side image palen and delete all middle faces.
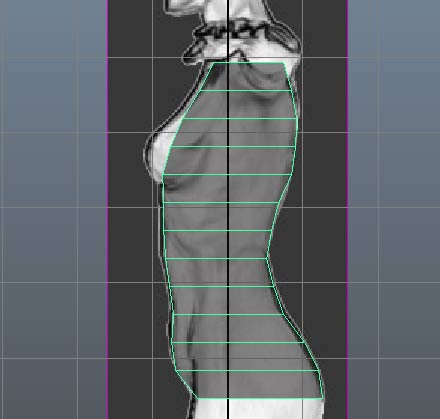
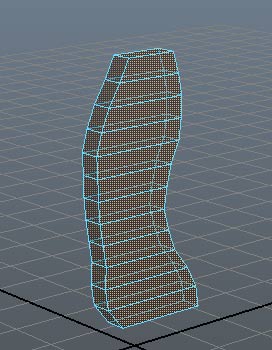
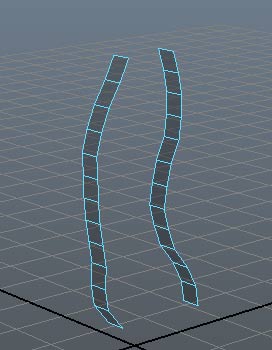
In the front view, center one edge on the Y axis..
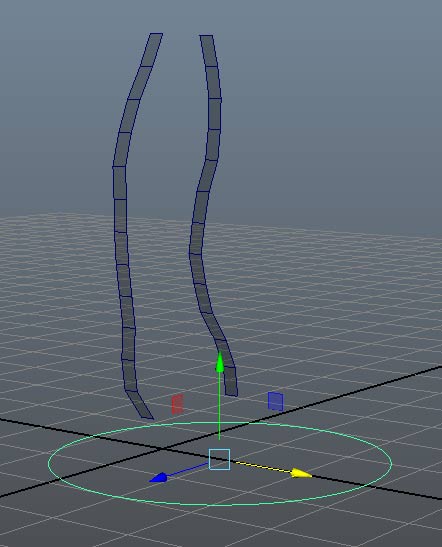
Create and position a Nurbs circle to cover the intersection between the leg and the torso
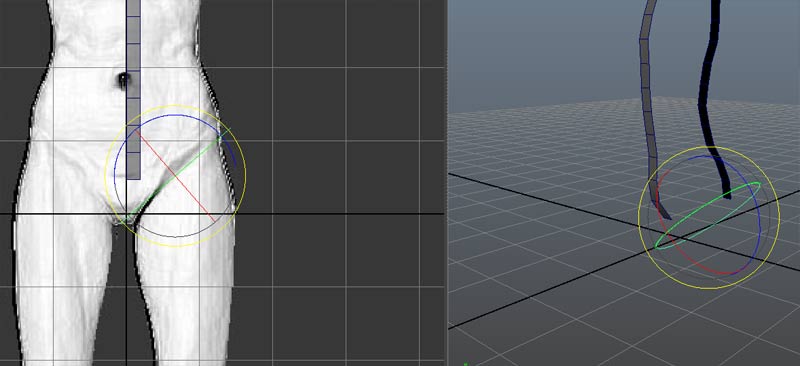
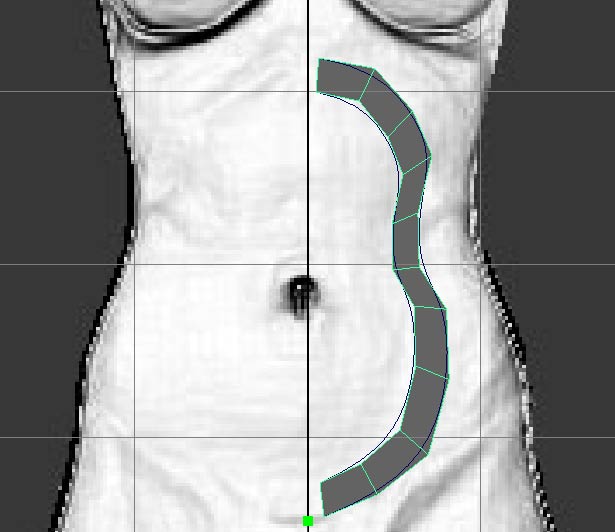
Position CVs to match front and side views. The front of the curve will match the line where the leg meets the torso. The back of the curve arches above the gluteus and represent the upper edge loop of the gluteus:


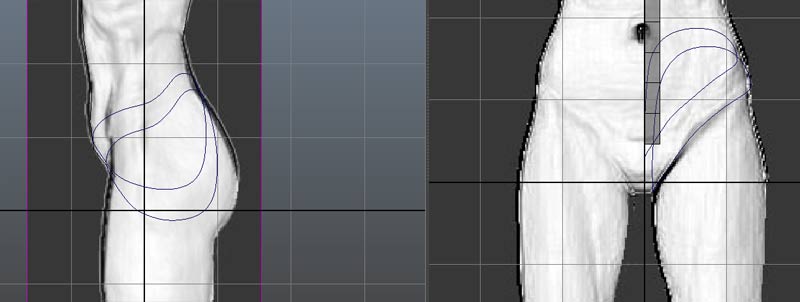
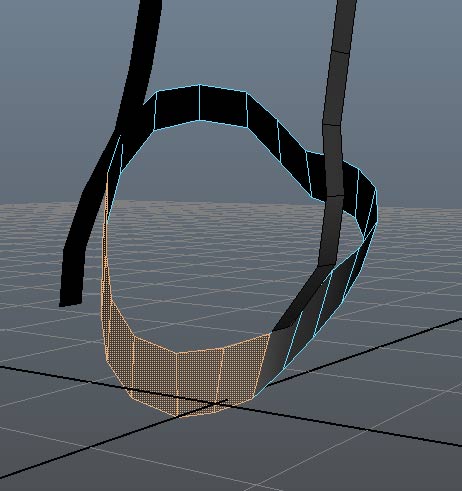
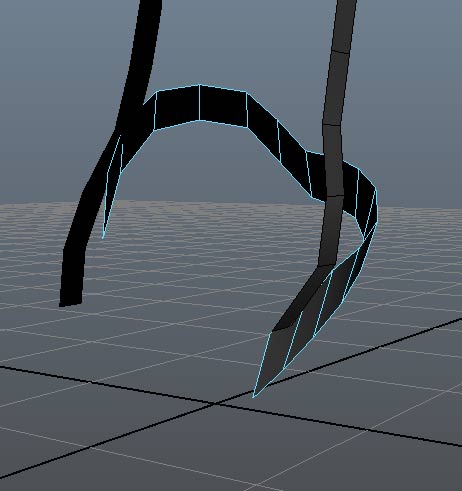
Duplicate curve and position in front and side views to create the top and bottom edges of the faces

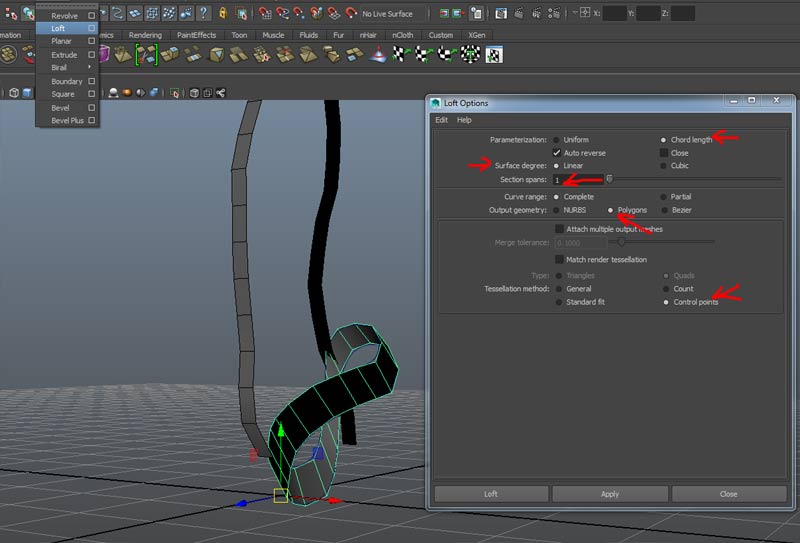
Select the two curves and Surface->Loft using options:
Parameterization: Chord Length
Section spans: 1
Output geometry: Polygons
Tessellation method: Control points
Delete faces on the inner leg and connect to the front and back faces"
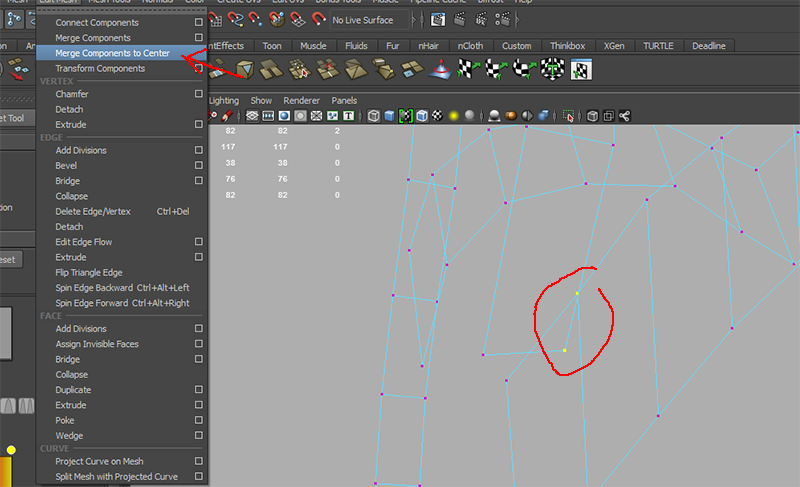
Select the two meshes and merge with Mesh->Combine
Merge individual vertices either with Edit Mesh->Merge Components to Center
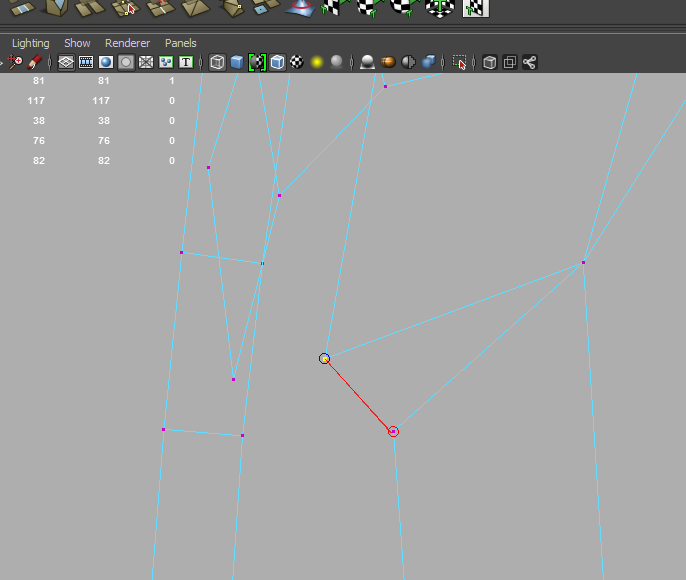
or use the Mesh Tools->Target Weld Tool to click on one vertice and drag it to a second:
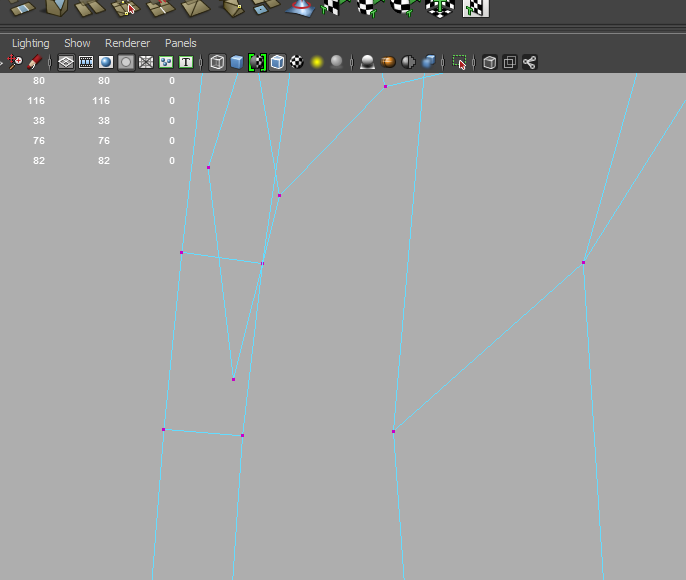
Connect both ends of the loop:
Add a semicircle. position, duplicate and loft to create edges along the rib cage:
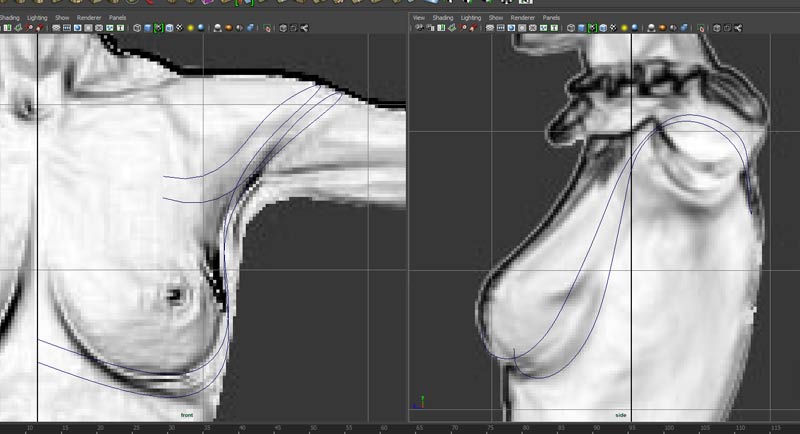
Position the curve in the front and side view:

Duplicate the curve and position to form the edge loop along the rib change and where the latissimus dorsi ends on the lower back:
Mesh->Combine and merge vertices to join the meshes:
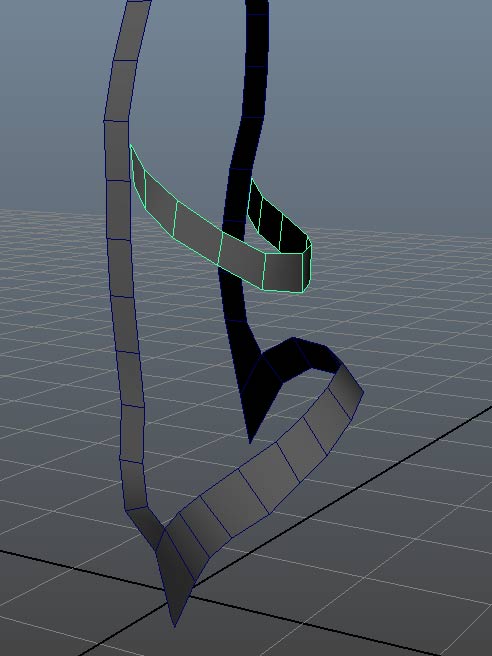
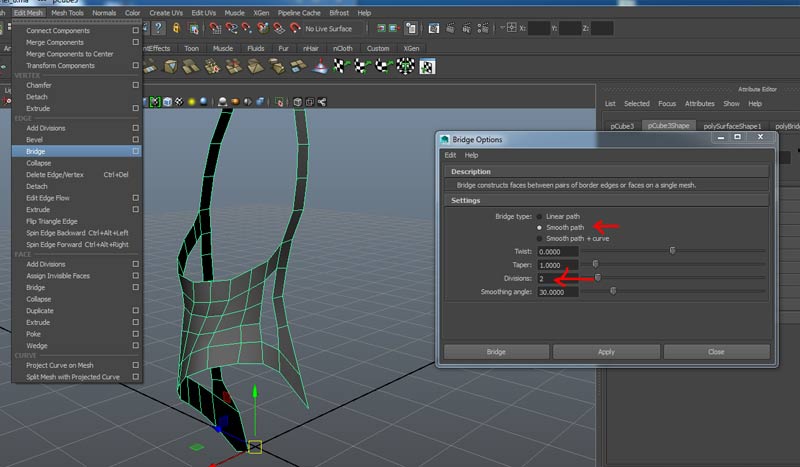
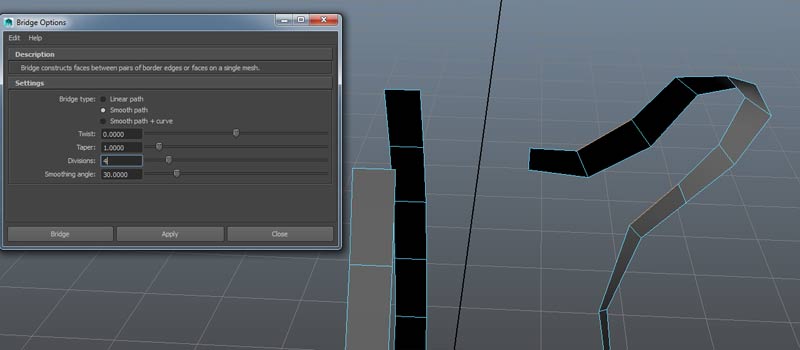
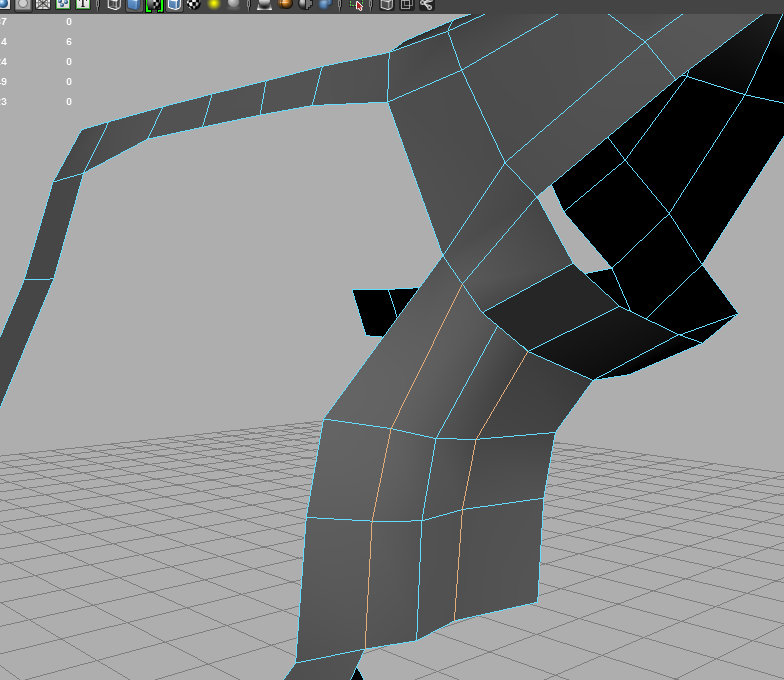
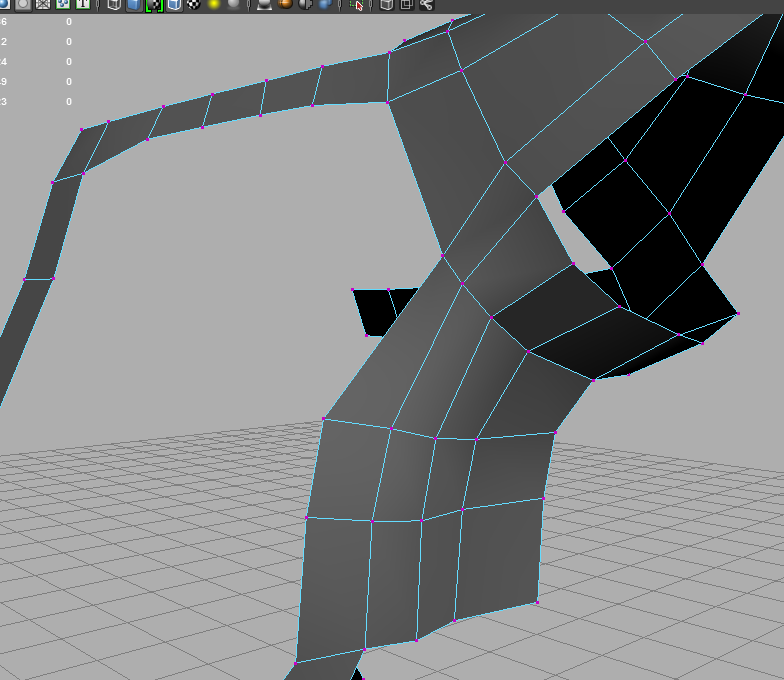
Select edges on both loops and join with the Edit Mesh->Bridge. Use options for smooth path and 2 divisions (which creates a bridge 3 faces wide):
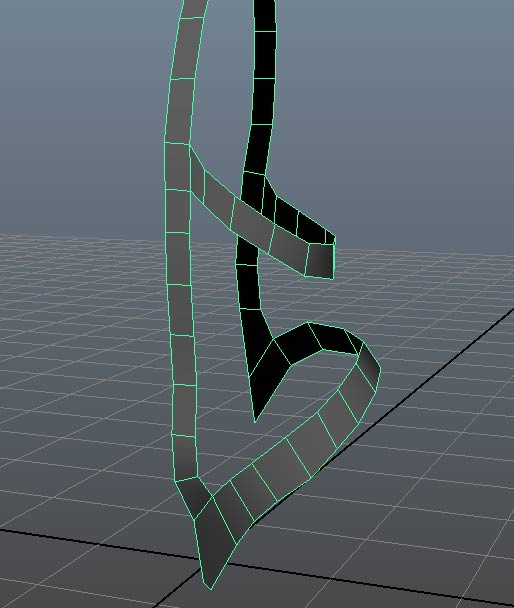
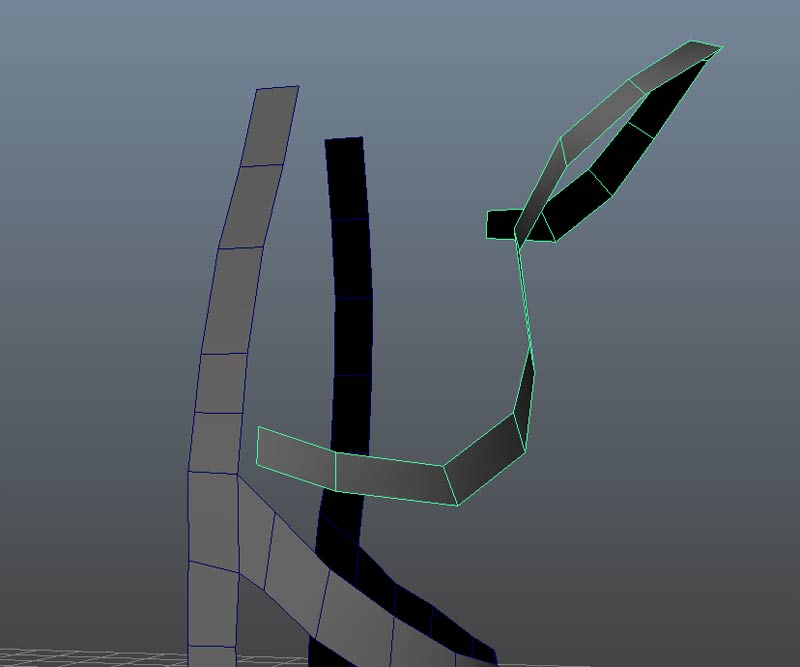
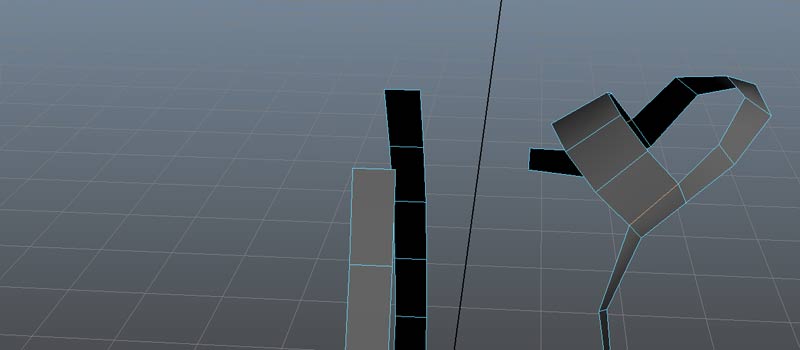
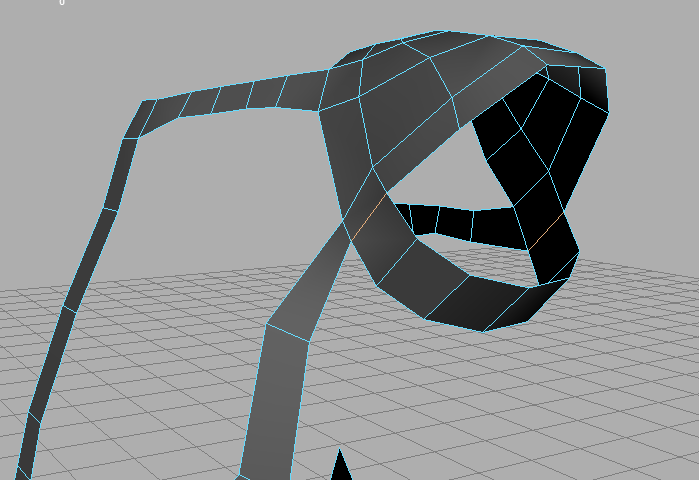
Create another curve to follow the line under and along the breasts and up and over the deltoid (shoulder) muscle, ending where the trapezius muscle begins.
Loft, combine, and merge vertices:
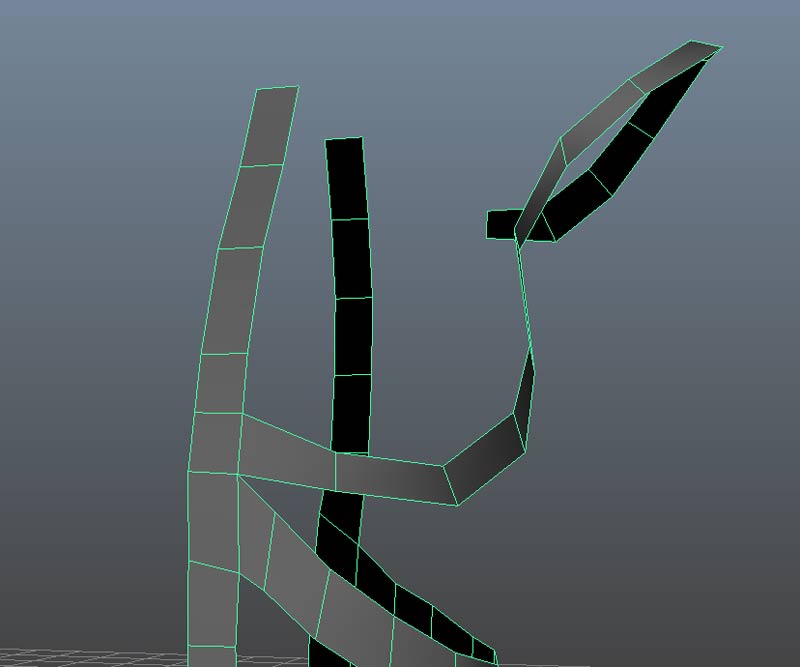
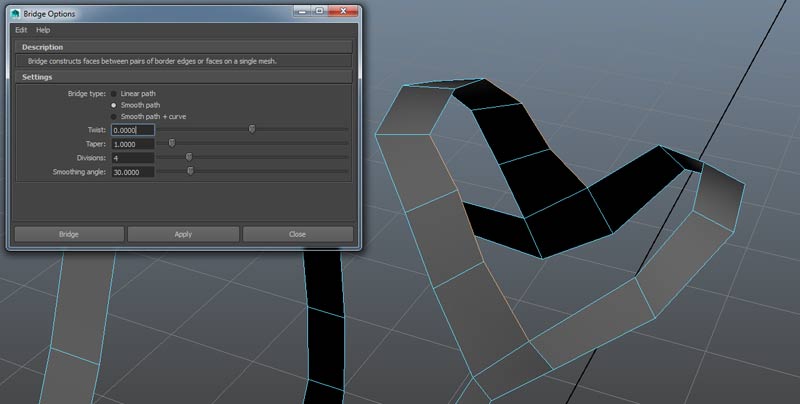
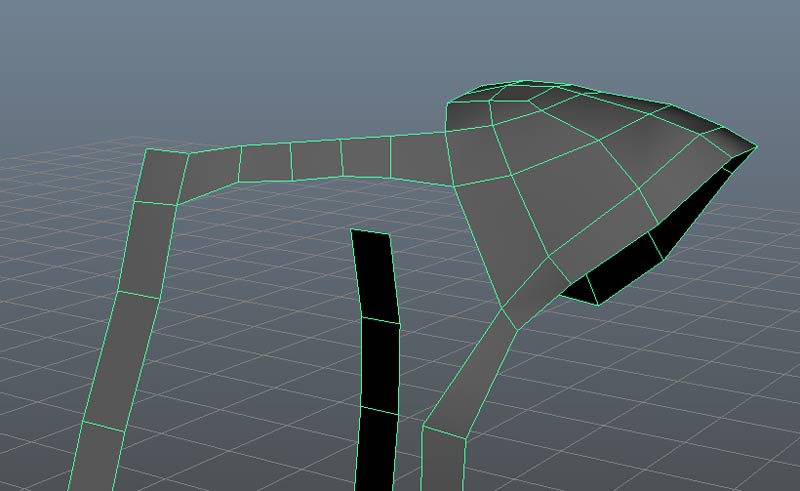
Use Edit Mesh->Bridge to create an edge loop at the other edge of the deltoid:
Select edges on either side of the new loop and use Bridge again to start to fill in the shoulder:
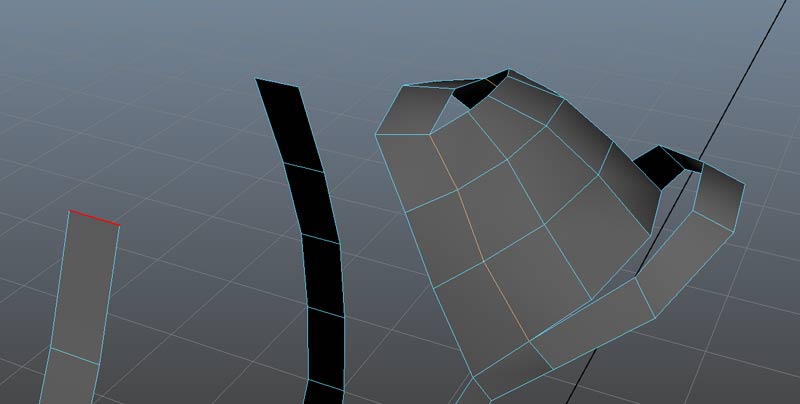
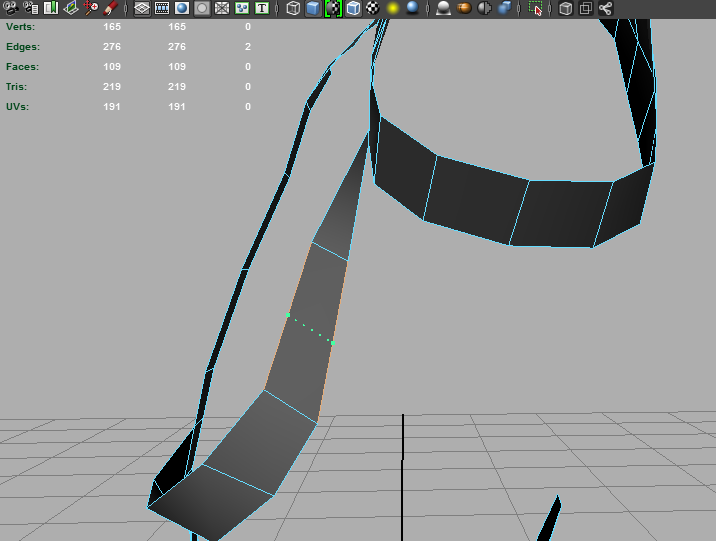
Reposition the vertices to match the front and side view. Use Mesh Tools->Append to Polygon Tool and merge vertices at the bottom:
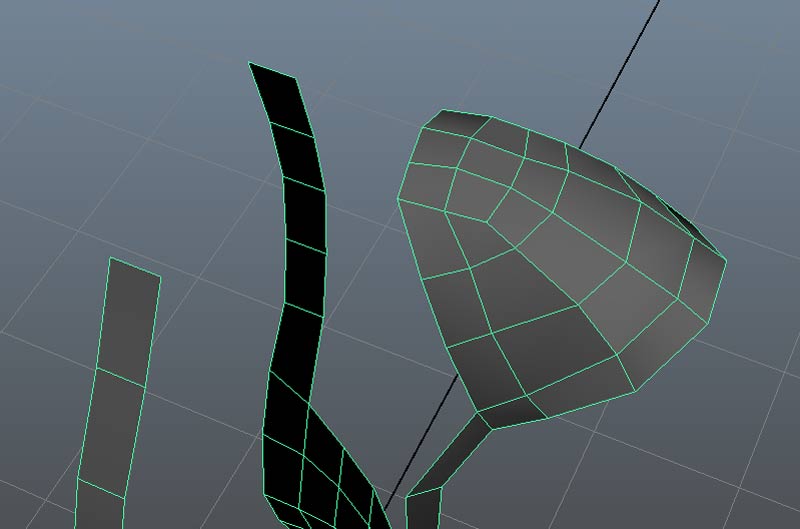
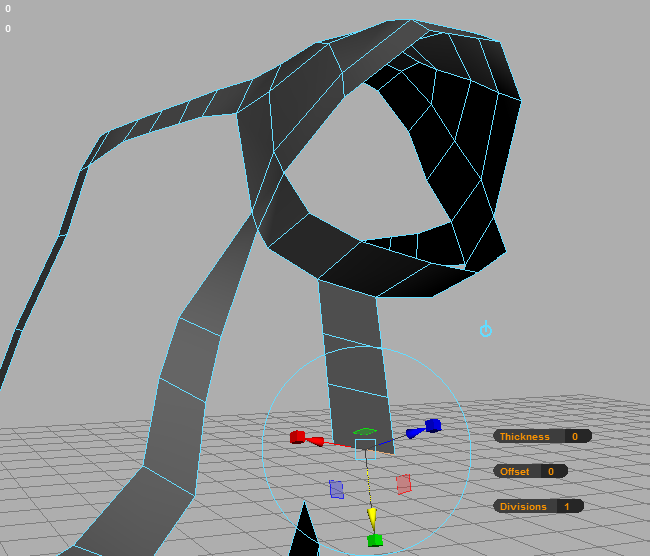
Use Bridge to create an initial edge loop for the collar bone:
And use Bridge to create an edge loop underneith the arm:
Insert another edge with Mesh Tools->Insert Edge Loop Tool
Select an edge under the arm and use edge extrude three times:
Reposition edges and connect this section with a bridge
And merge the vertices on top:
Create a bridge from the shoulder to the spine
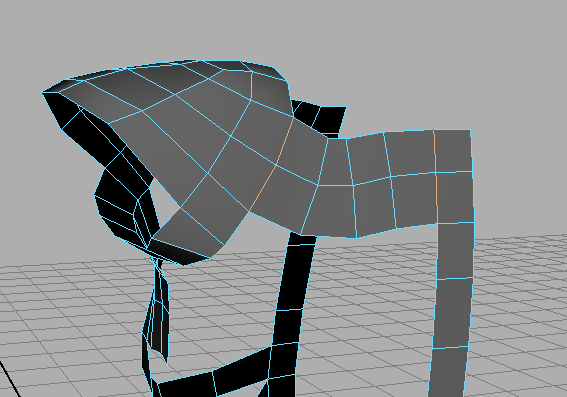
Create another bridge under the arm:
And along the top to the collar bone:
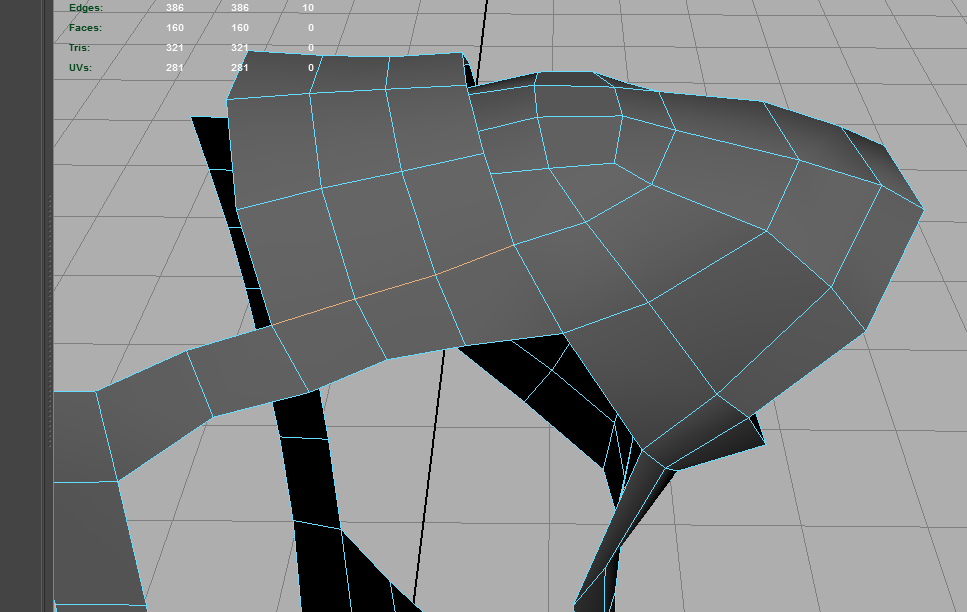
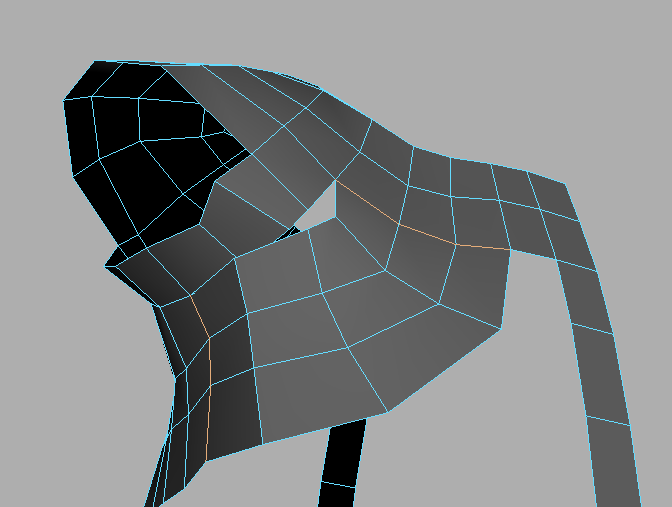
And connect the vertices and position in the front and side views:
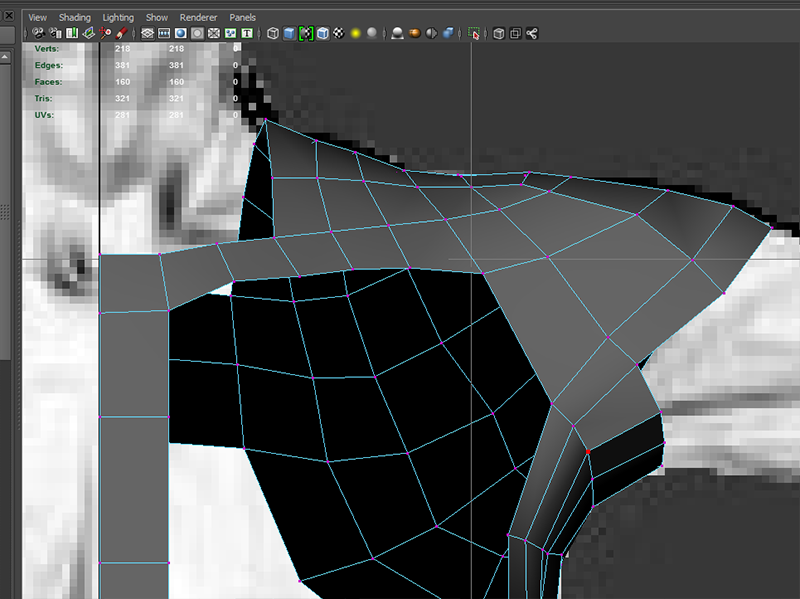
Extrude the front and back section up to create a neck and bridge the two sections:
Create the edge loops for the stomache muscles:

Combine and connect the new faces and fill holes:
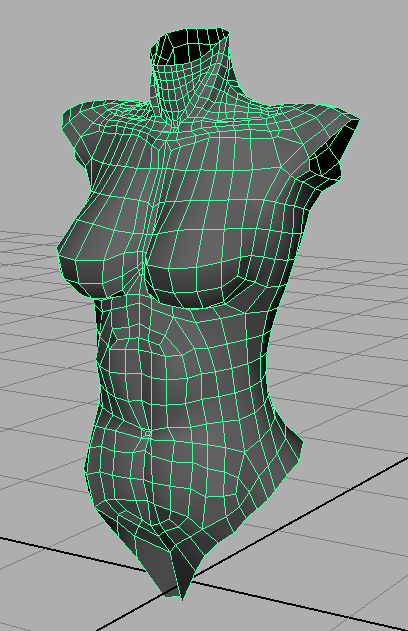
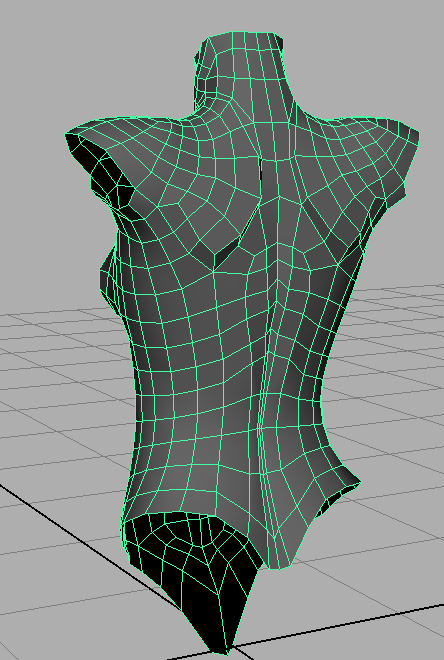
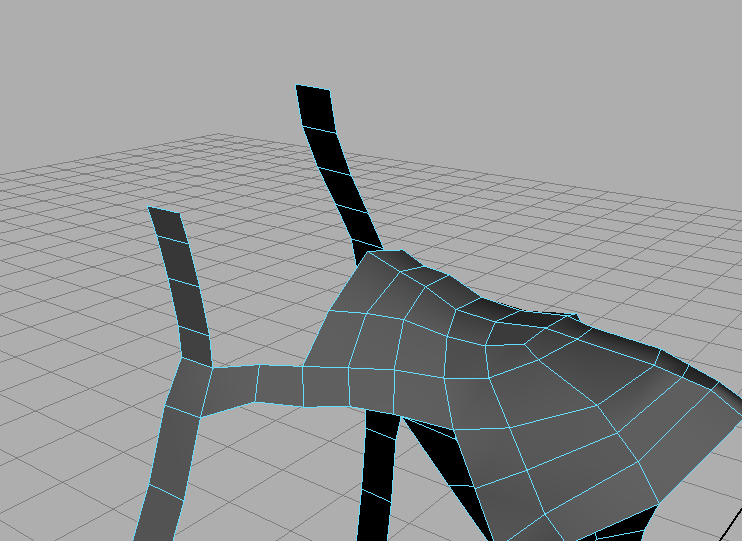
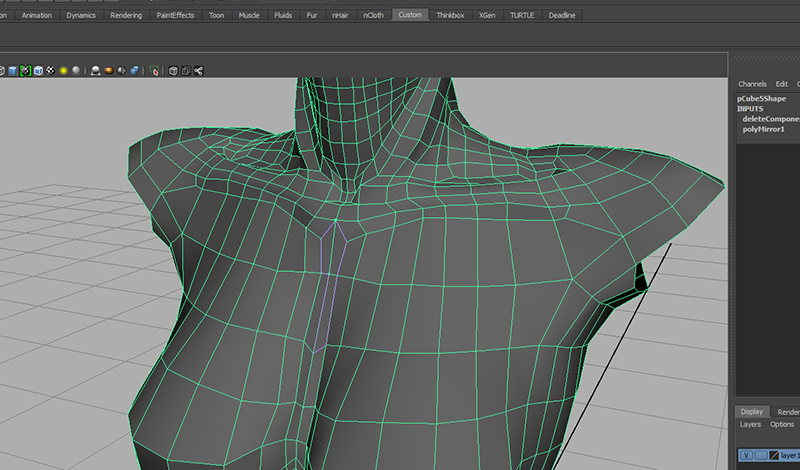
Continue this process, bridging and filling and refining the edge loops.
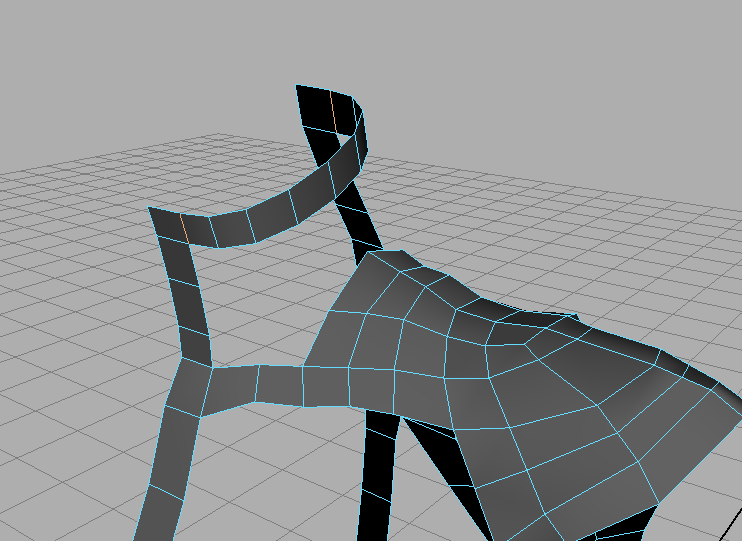
When finished, check to see if all of your faces are quads. Use Mesh->Cleanup.. and select 4 sides faces:
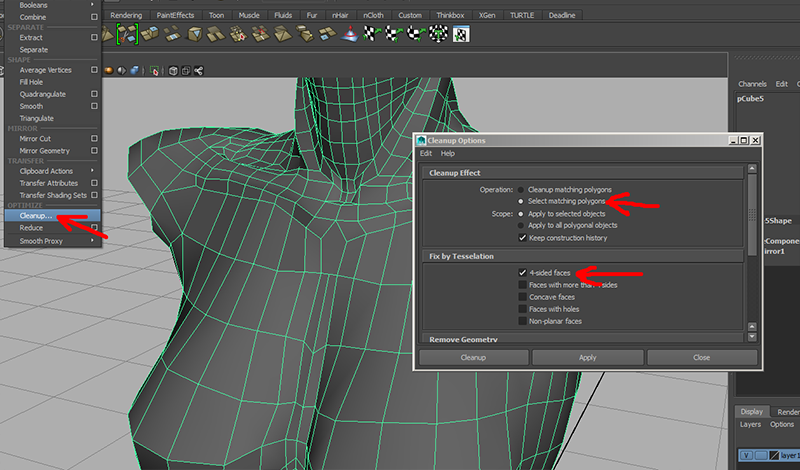

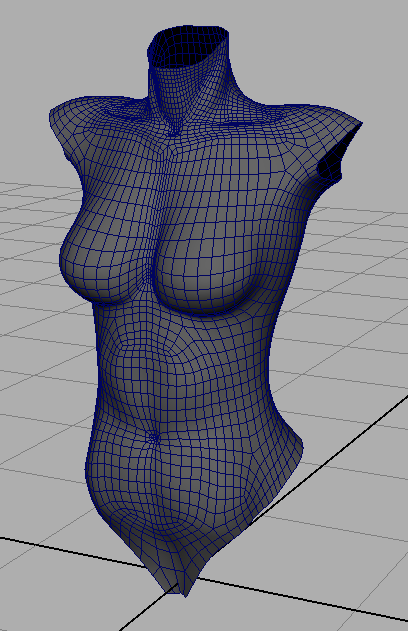
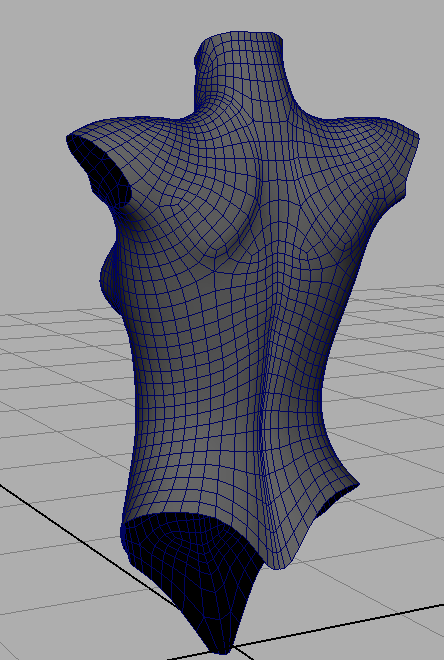
And fix any non-quad faces:
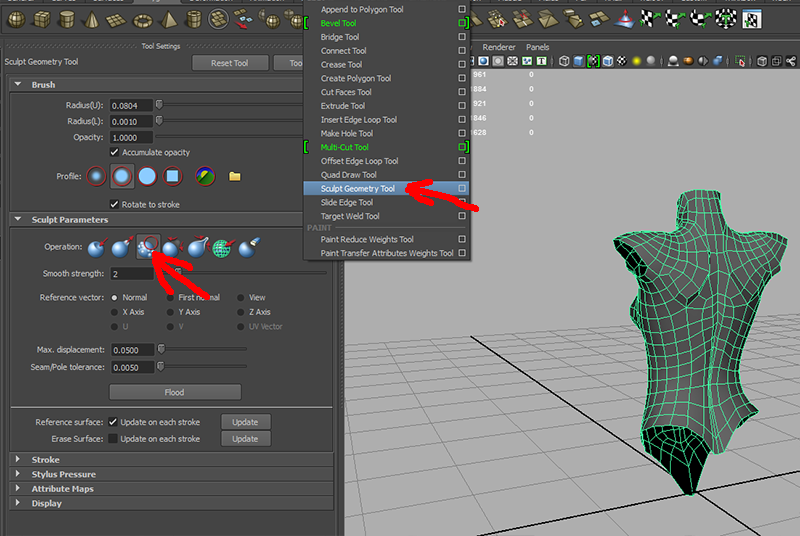
Most of the remaining work is filling holes, adding detail and seeing if your edges are well organized and will react well to deformation. If you have a light hand, you can use Mesh Tools->Sculpt Geometry Tool with the smooth mode to smooth out the edges in areas without fine detail:
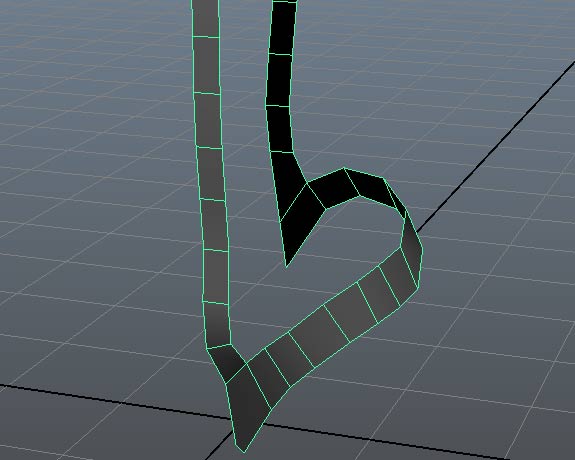
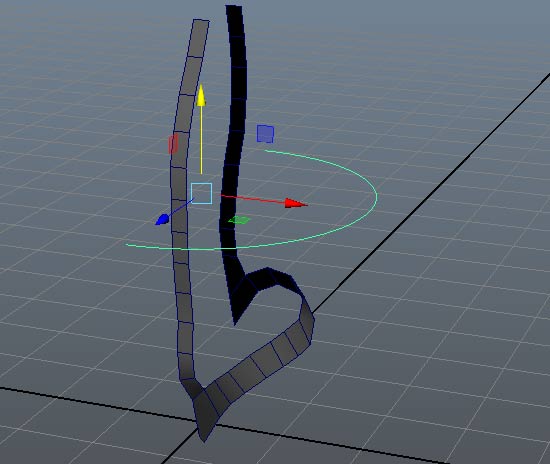
I also did a little extrusion around the scapulas to give the impression of shoulder blades. The solution I came up with is: