We will need a number of blend shape targets which we will use to build facial expressions and visual mouth shapes for speech (what Jason Osipa calls visimes). The topology for the base mesh must match the targets. All we can really do is move vertices. We can't add edges, merge vertices, extrudes faces, etc.
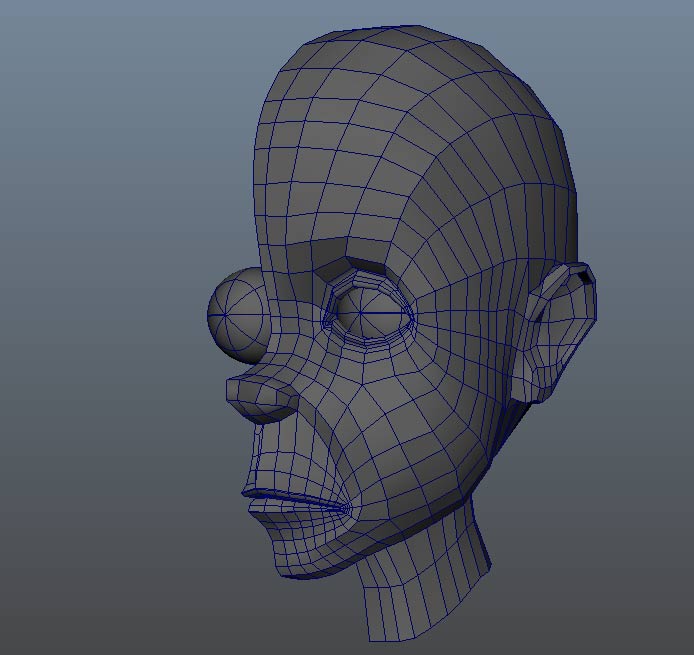
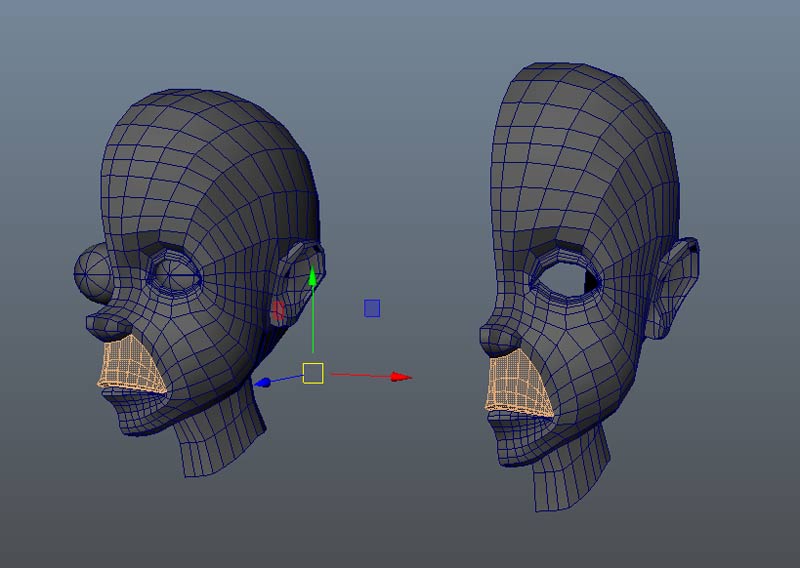
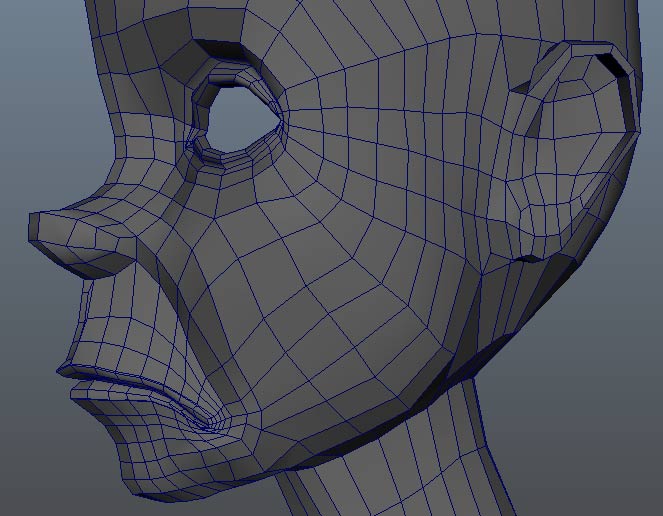
Start will our half head.
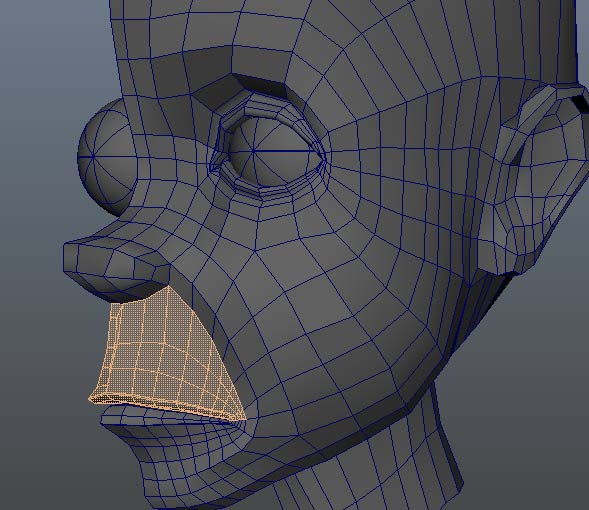
One thing we can do make manipulating the mouth easier is to make a quick selection set for the upper lip:
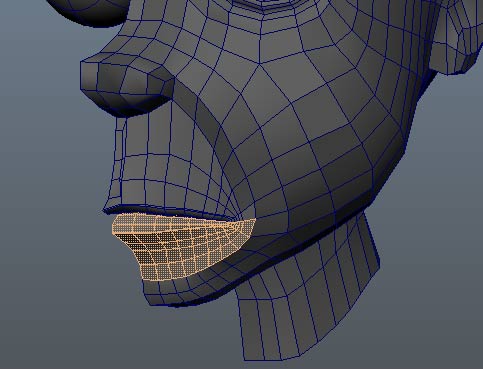
and one for the lower lip:
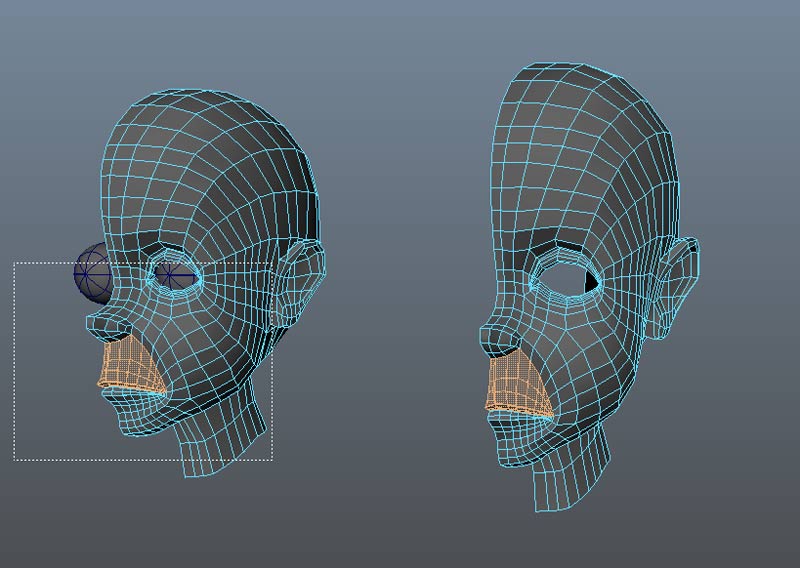
As we duplicate the base head, the Quick Selection Sets (QSS) will also be copied. Just go into face mode for the polygon objects and control marquee to remove the faces you are not interested in.
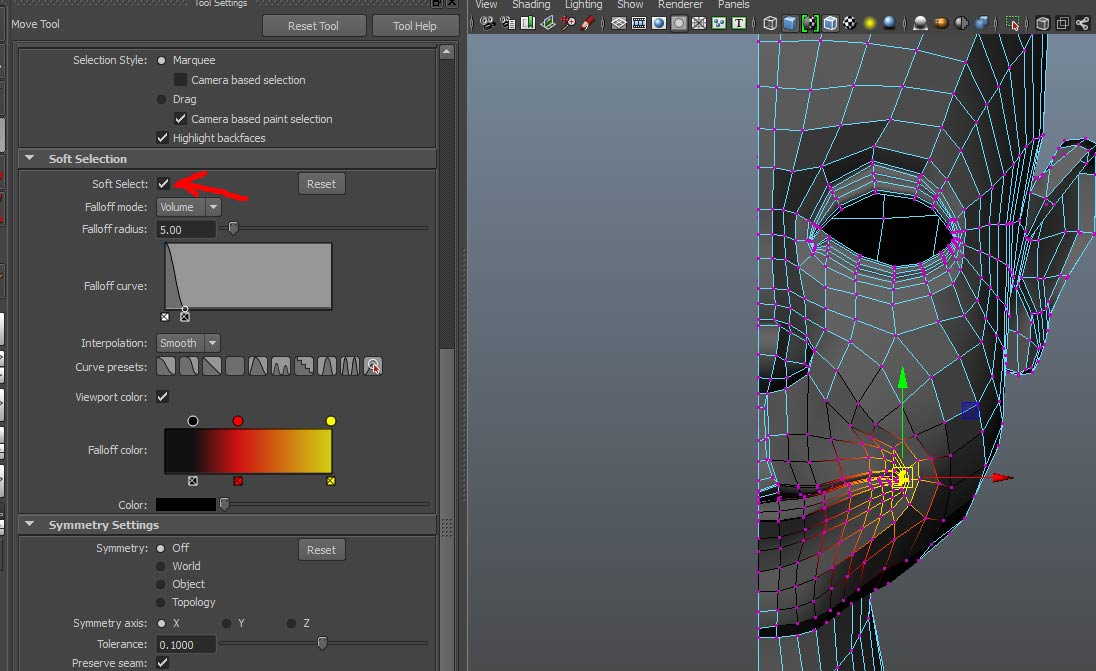
First we need a blend shape target for a smile/wide mouth. We could use a number of methods to sculpt the mesh. Often using the Move Tool with Soft Select will help to form the general shapes. Once you are close, switch soft select off to fine tune placement of individual vertices
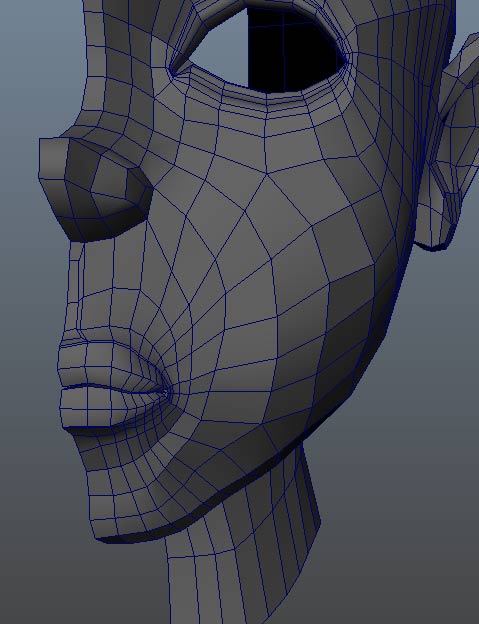
We'll also need a narrow mouth target. Something similar to a pucker:
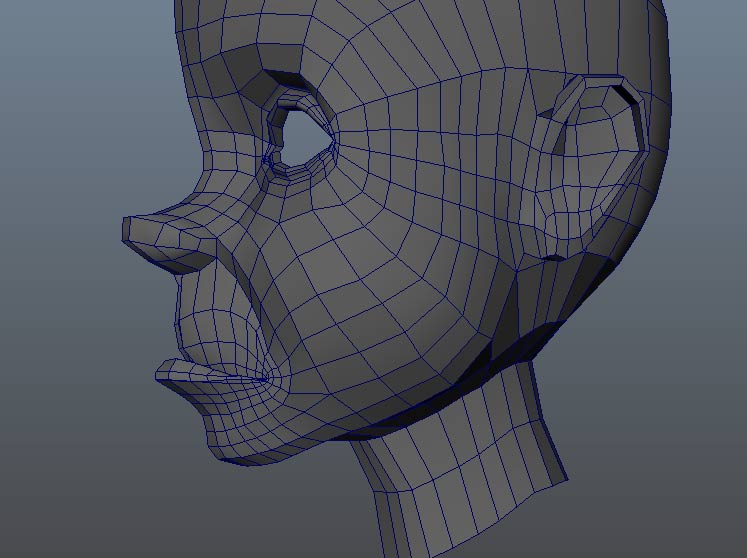
We'll also add target spaces for rolling the upper lip under the lower lip for making an "M" sound:
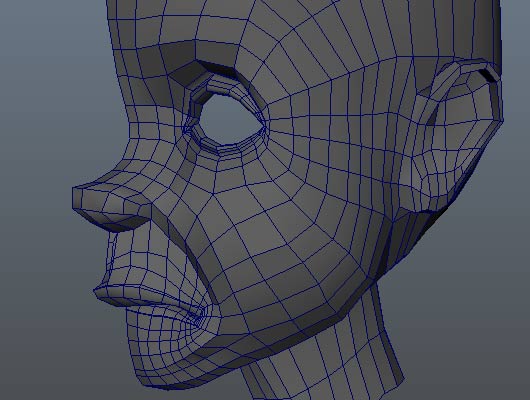
Or rolling the lower lip under the upper lip (actually under the upper teeth, but we'll ignore teeth in a cartoonish example). This allows for a "V" sound:
Add a frown:
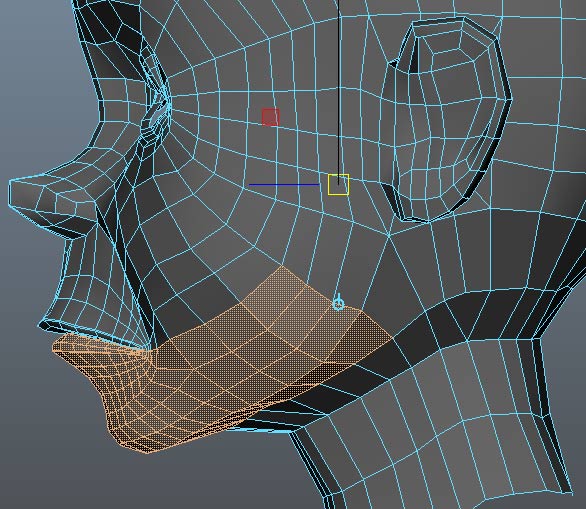
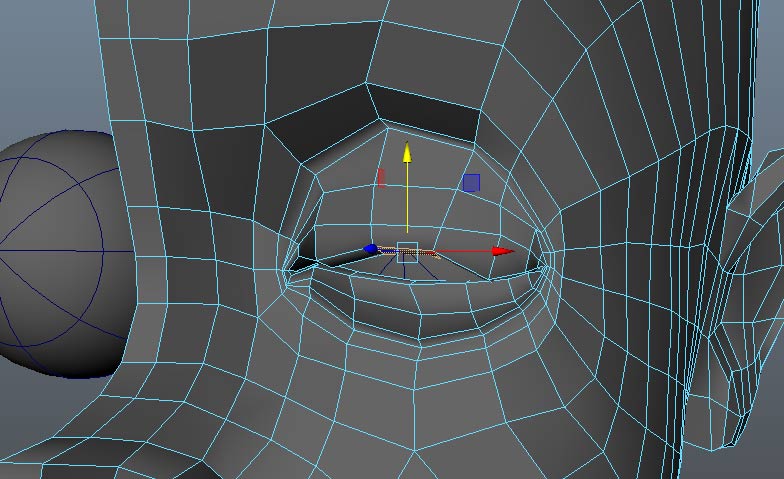
We could use a joint system to move the lower jaw, and a rotation would more accurately capture the rotation of the jaw. For this example, we'll simplify to keep within the bland shape as another target. Start the selection by adding to the QSS for the lower lip
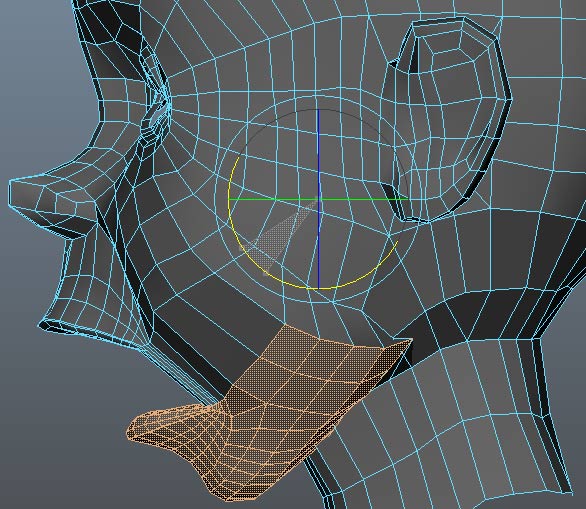
Use the rotate tool but use insert to reposition the pivot to where the jaw meets the ear
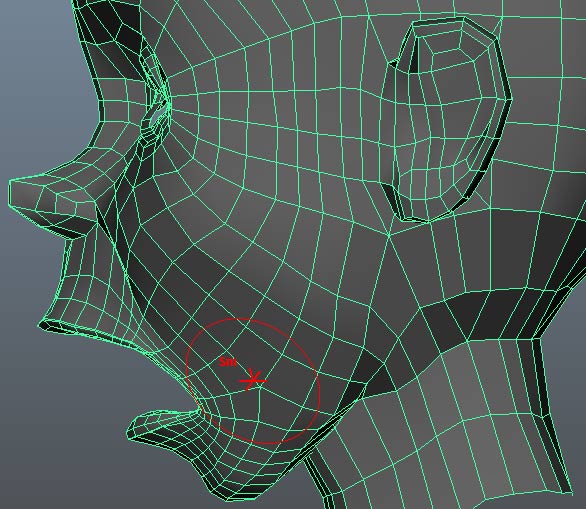
And then use Mesh Tools-> Sculpt Tool to smooth the vertices:
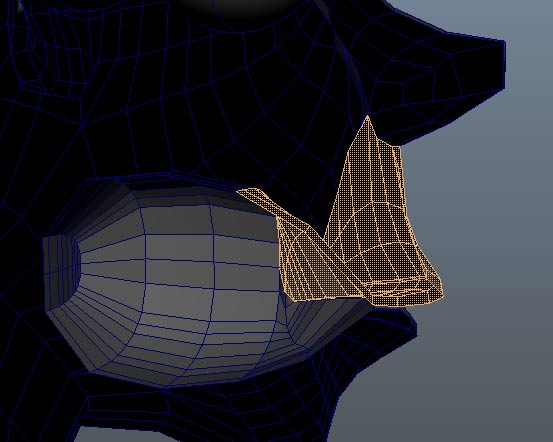
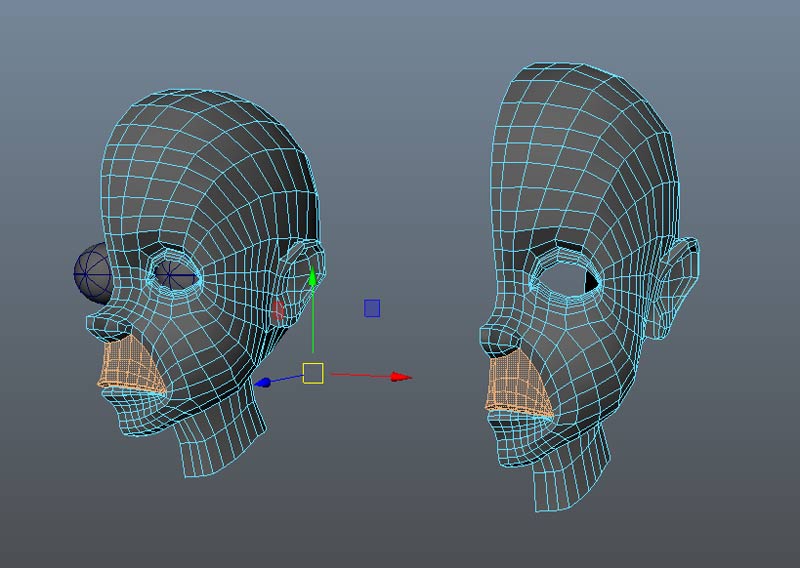
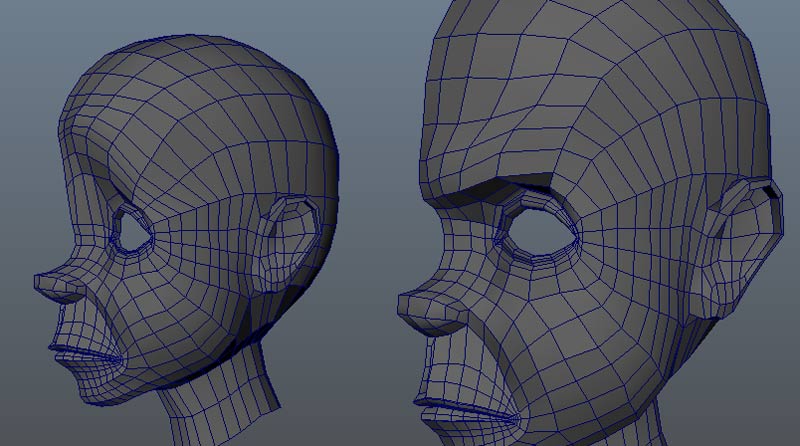
To work with the eyes, we have the same problem with the jaw, in that a joint better captures the rotation of the eye lid over the linear path of the blend shape transition. If the eye is extra large and joint may be needs to prevent the lid from cutting though the eyeball. For this example, a blend shape target works fine:
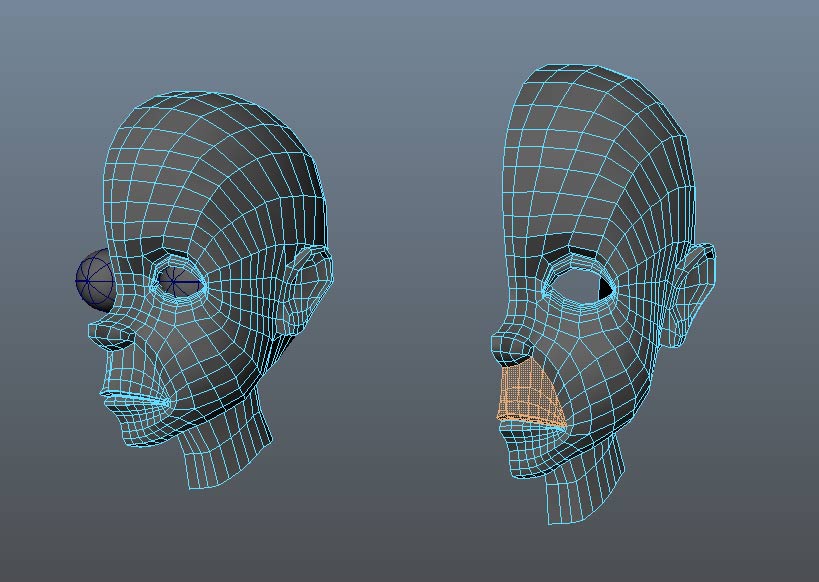
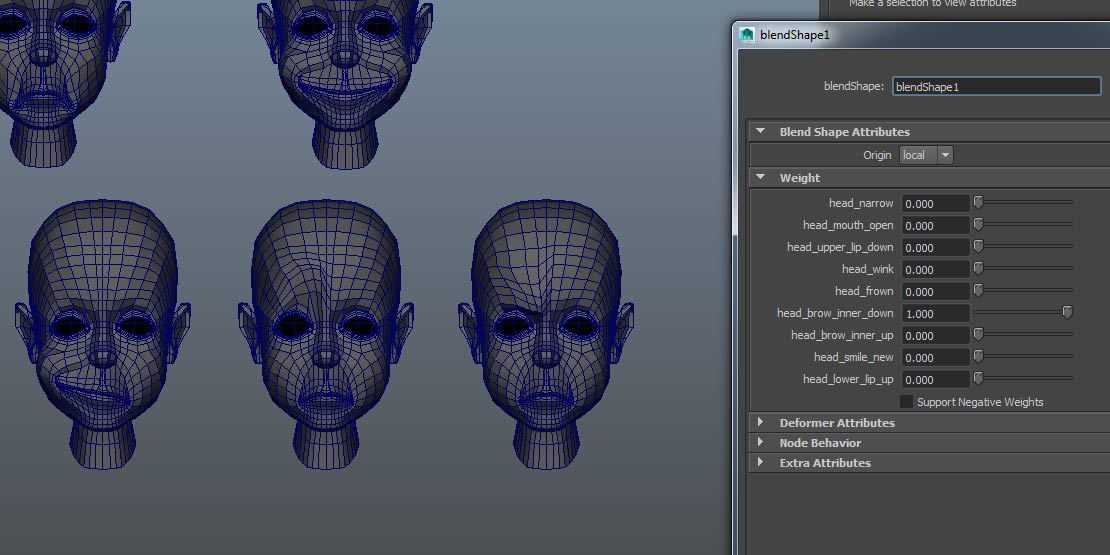
We can also create eye brow positions:
Use mirror geometry on the targets and delete by type history.
DO NOT freeze transforms on the targets. Maya will need the positions of the targets to calculate the blend shape.
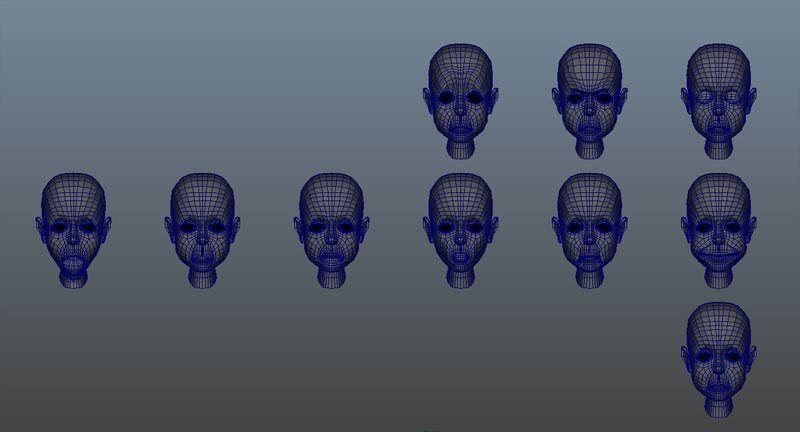
Make sure the target shapes have names that match the function of the target, i.e. head_base, head_mouth_wide, head_mouth_narrow, head_frown, head_upper_lip_in, head_lower_lip_in, etc.
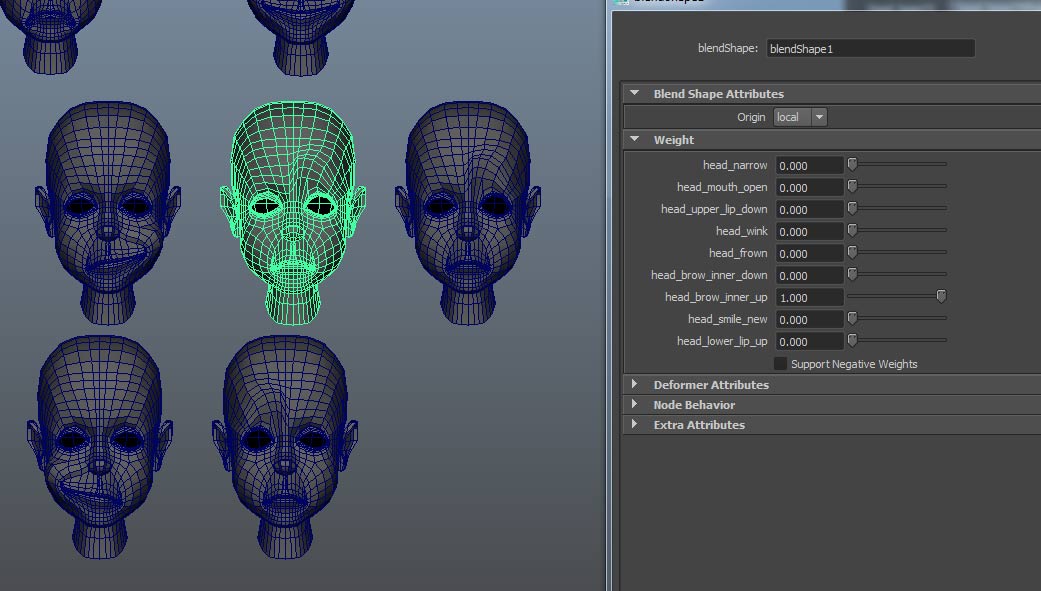
Select all of the targets followed by the base mesh. Use Create Deformers->Blend Shape with default options
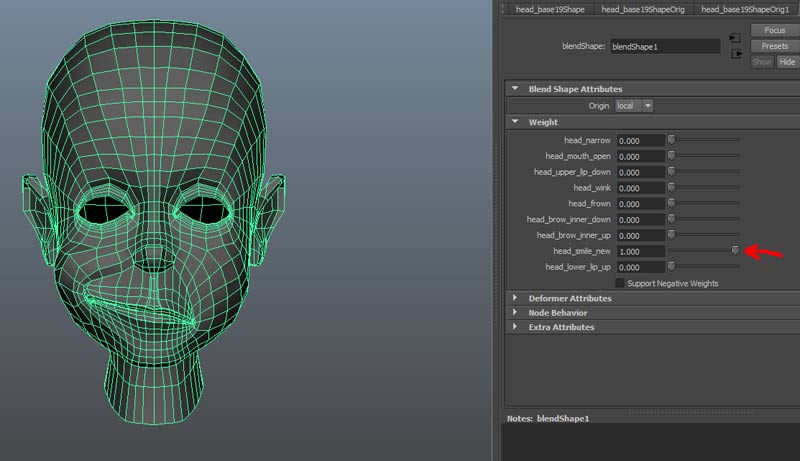
Some of the targets should have independent right and left targets. We can use the newly created blend shape and Edit Deformer->Paint Blend Shape Weight Tool to create new targets with left and right side options:
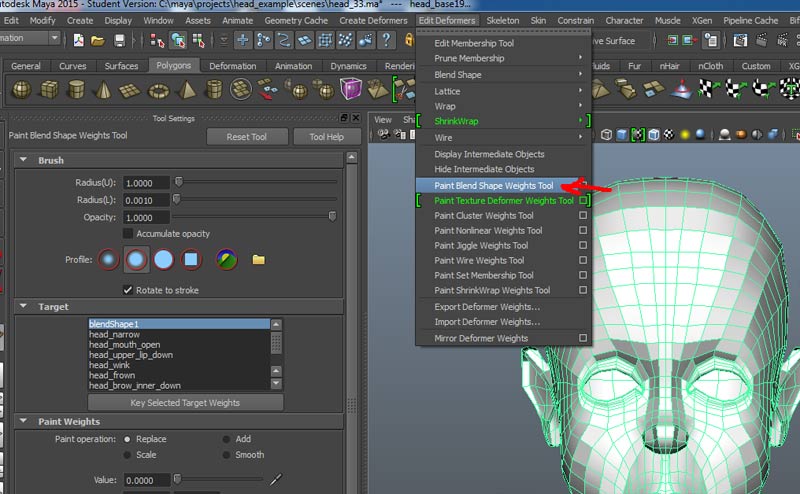
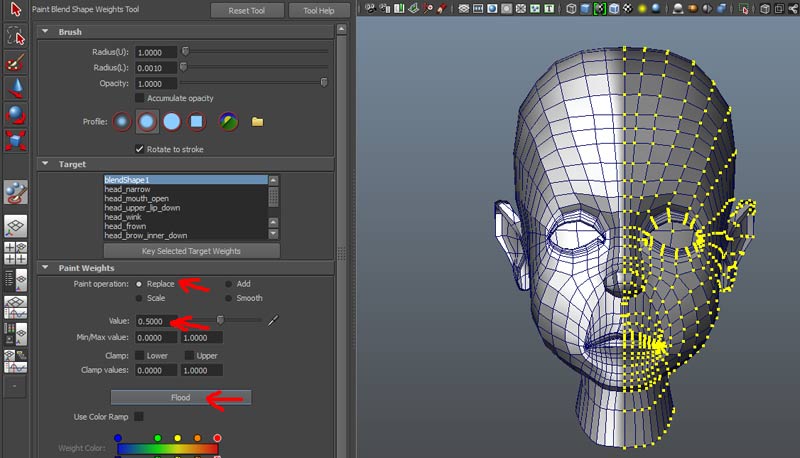
Select the base mesh with the first blend shape, select vertice mode and marquee select the right side including the centerline. Use the Paint blend Shape Weight Tool.

Make sure the base mesh is selected in the Target of the tool options. Set Paint Option to replace, Value to 0.5 and hit Flood:
Select the vertices just to the right of the center line, set Value to 0 and flood again:

Go back and use the blend shape option for smile. Only the left side will be deformed.
Duplicate the deformed base mesh with the half smile, move it to the side. Rename the copy "head_smile_L". Repeat with other targets that should be broken by side.
Once all left side targets have been created, go back to the Paint Blend Shape Weight Tool and reverse the sides:
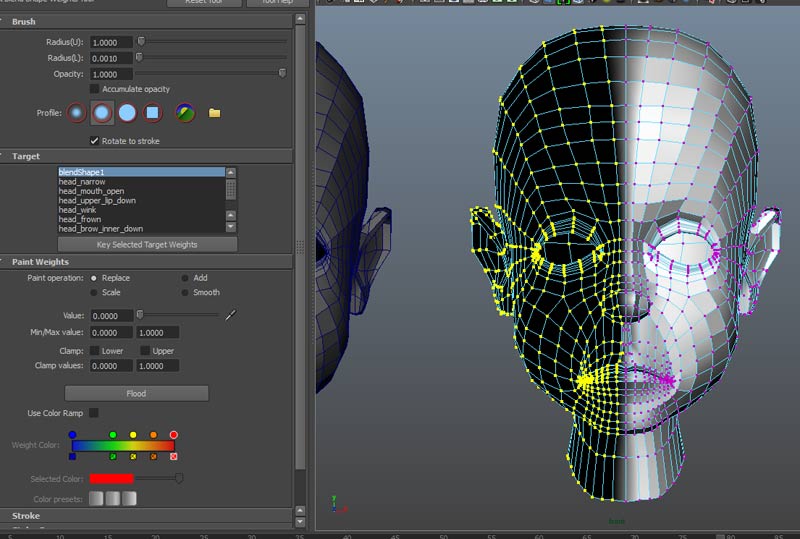
Now generate the Right side targets.
Create a new base mesh (duplicating from the undeformed first blend shape) and create a new base mesh from a combination of full, left and right side targets. For instance, we may want the open mouth to only function on both sides working together, and in that case we will use the original mouth open target. Conversely, we may want the eyes to blink independently, so we will use a left and right hand side target created from the first blend shape.