Start by opening your project file from assignment 1. Place a polygon plane under your object, and set the camera environment background color to white.
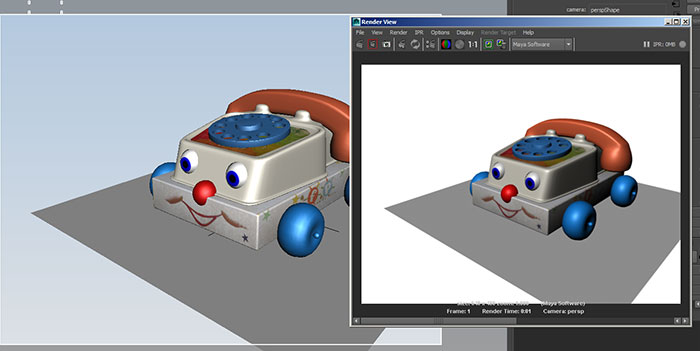
When we render we see our object.
How can we see anything if we haven't added any lights?
Go to the Render Settings, Common tab and at the bottom open Render Options and uncheck Enable Default Light
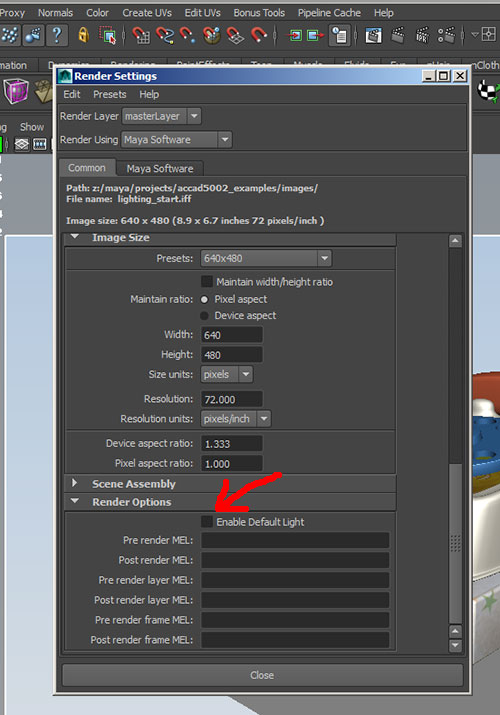
and re-render:
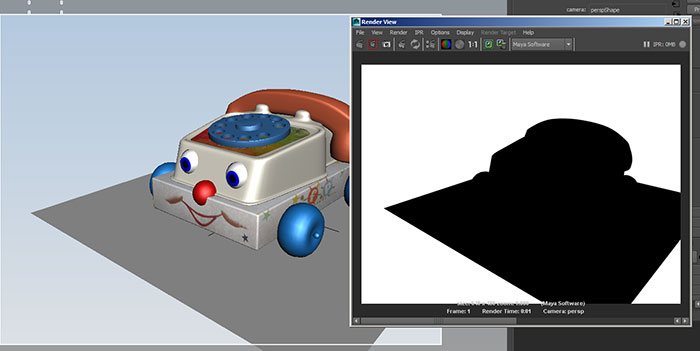
Without the default light, there is nothing to illuminate our objects.
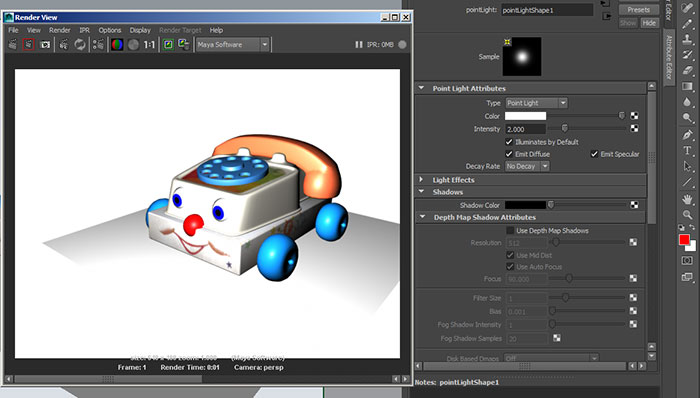
Start by creating a point light.
Create->Lights->Point Light
and render:
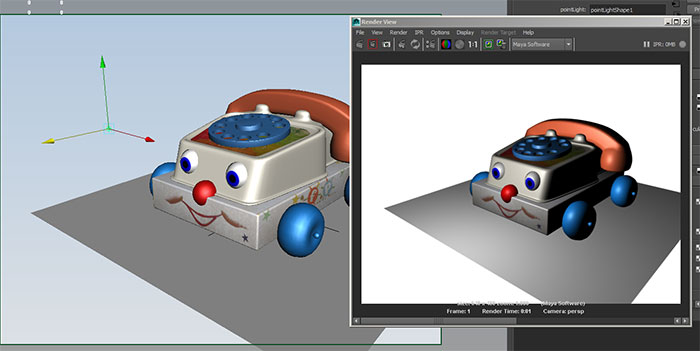
Like a bare lightbulb the point light will illuminate the scene in all directions.
With the point light selected, we can go to the attribute editor to examine the different attributes.
We can change the color of a light:
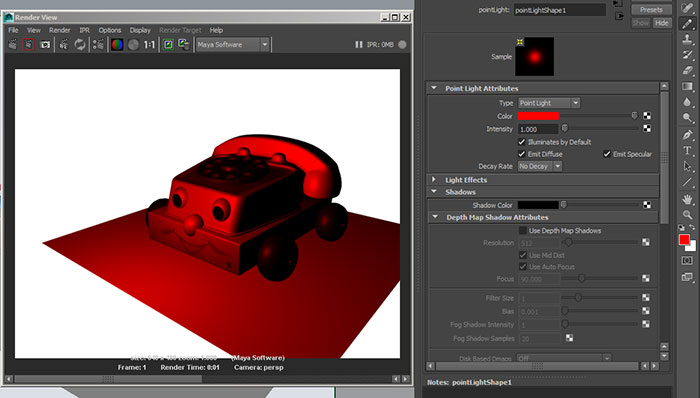
While this can feel artifical, all lights have their own color temperature, from the warm slightly yellow cast of an incadencent light to the cooler faint blue of noon day sunlight.
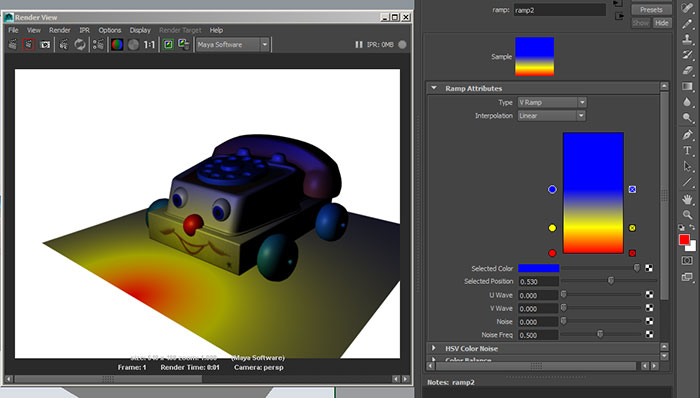
As with materials, the color field can be used to attach utility nodes, for instance a ramp node attaced to the color attribute:
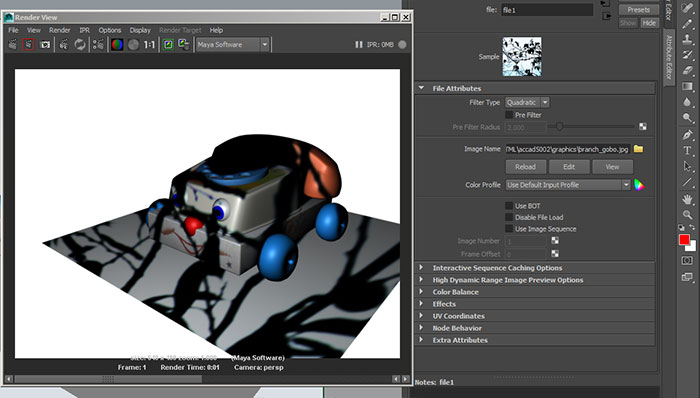
Or a file node can be attached to the light to create the equivalent of a cinematic gobo, a shape used to partially block the light and alter the throw pattern:
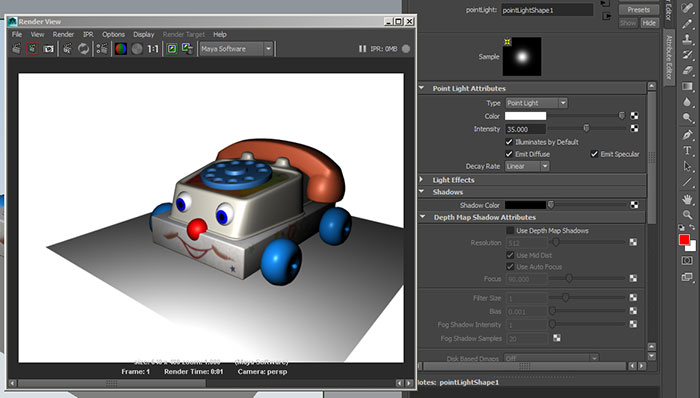
Intensity is simply the brightness of the light.
The Intensity can be used with the Decay Rate to introduce a more pronounced drop off in illuminstion. The drop off rate from least to most goes from No Decay to Cubic.
Lighting can be broken into components. Maya breaks lighting into specular, the light associated with the highlights, and diffuse, the lighting of the rest of the object. By using Emit Diffuse and Emit Specular we can turn off either lighting component.
With both selected:
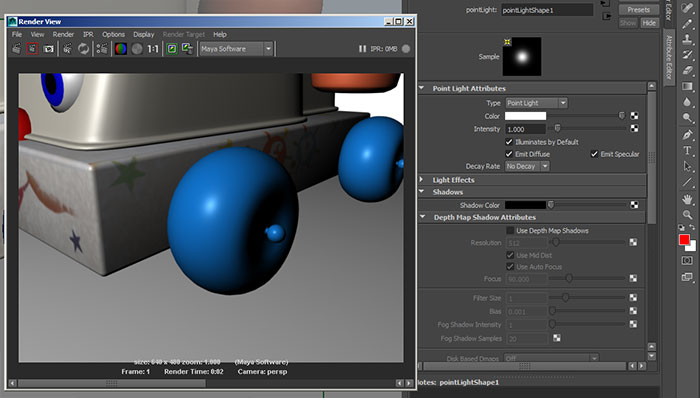
With only Emit Diffuse:

With only Emit Specular:
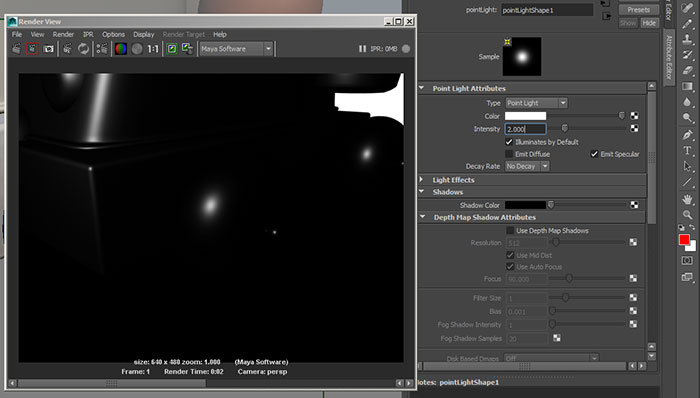
We'll see a practical application for this when we do 3 point lighting.
Let's delete the point light and create a Directional Light
Create->Light->Directional Light
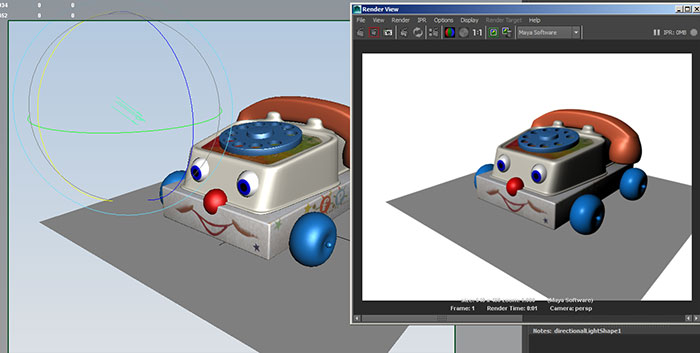
The Directional Light is an approximation of the point light at an infinite distance where all light rays in a small area become parallel. This is how we experience the sun, which is a point light, but there is no noticeable drop off in intensity if we move 10 feet closer or 10 feet farther away from the sun. We notice that the ground plane is evenly illuminated with the directional light (compare to the point light example). Also while the illumination of the point light changes when we change it's location, but rotation does not affect illumination. With the directional light the opposite is true:
Also notice that there is no Decay Rate field for the directional Light.
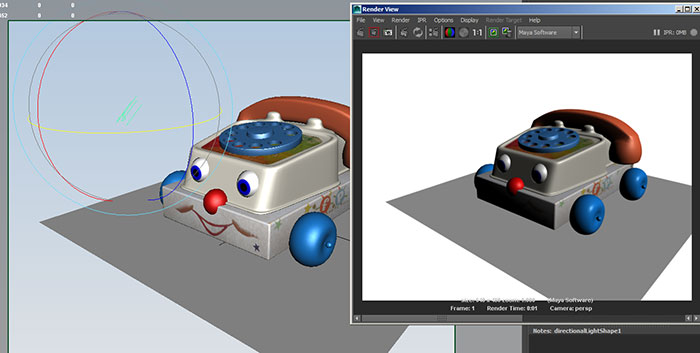
Ambient lighting generally provides an overall level of brightness to the scene. Because of this, ambient lights flatten the scene and rob your forms of definition. It is usually best to avoid ambient lights
Notice that ambient light does not emit specular by definition.
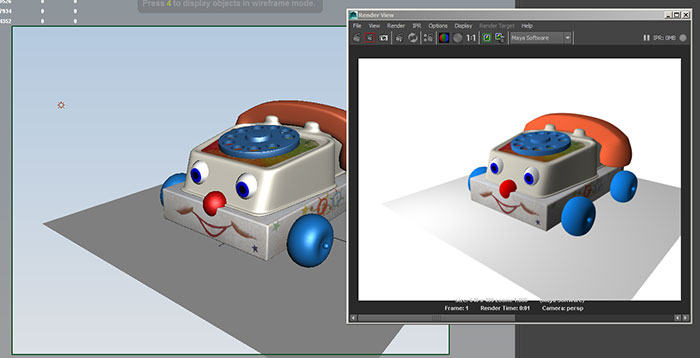
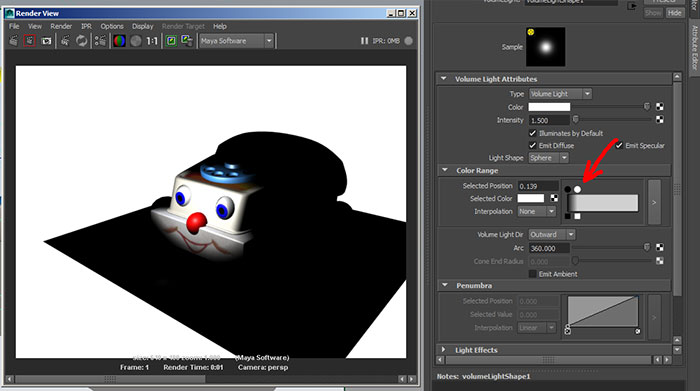
A volume light allows us to scale a volume over which illumination occurs. Default is brightest at the center and fades to the edge of the volume
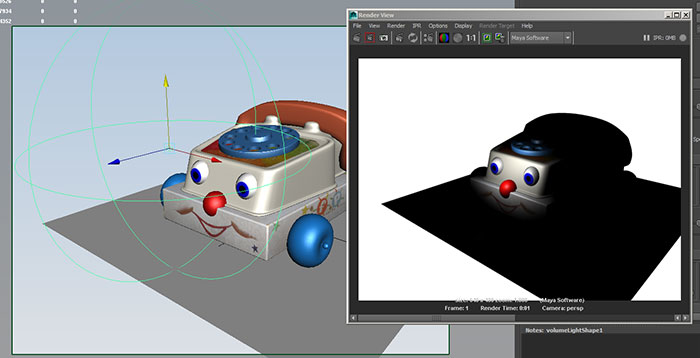
By using the color range change the effect of the fall off. Here I moved the white color range point to the left to create a more uniform illumination within the volume
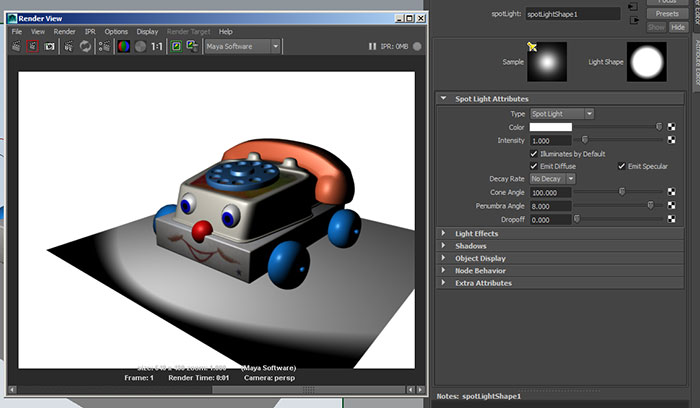
This is the workhorse of most lighting schemes. Create a spot light.
Create->Light->Spot Light
To position the spot light, use the "t" hotkey for the show manipulator tool. This gives us two move handles, one to move the light and the other to move the aim of the light.
An alternate method to position and aim the spot light is to use the Workspace menu Panels->Look Through Selected and the same alt-mouse buttons we use to aim cameras.
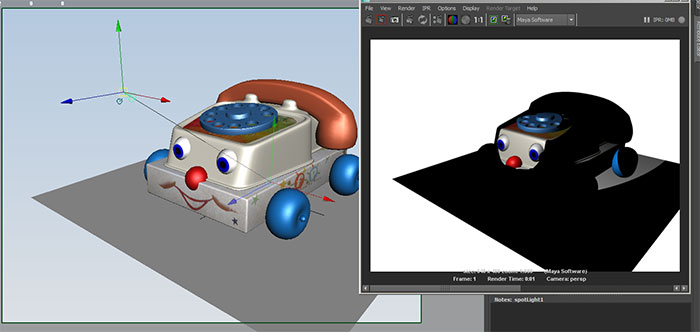
When we render we see that the spot light is just that, a cone of light which only illuminates objects in the cone.
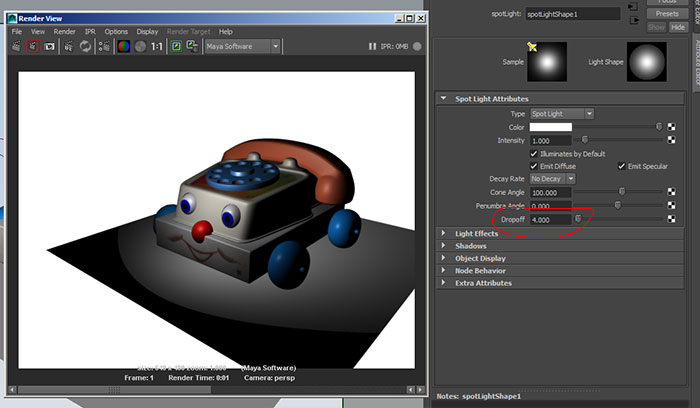
Many of the attributes we have already talked about...color, intensity, emit options, and decay rate. To this we add Cone Angle:
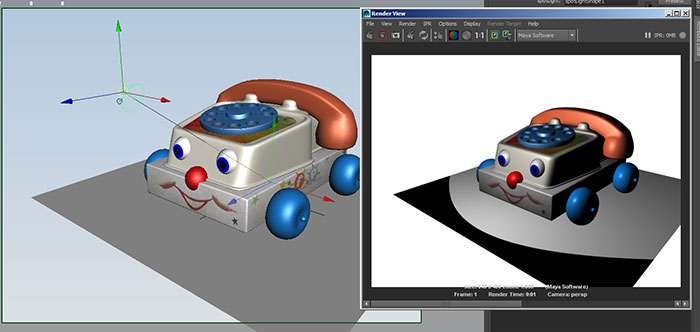
Dropoff is a reduction in intensity from the lights central axis to the edge of the cone:
A related attribute is Penumbra Angle, which adds a drop off beyond (for a positive angle) or within (for a negative angle) the edge of the cone: