Set your project area.
Frame your view in the workspace.
Use hotkey 6 to show texturing on your object.
Set the time slider for the start and end frames of your animation (should be about 1-100 frames, but can be more).
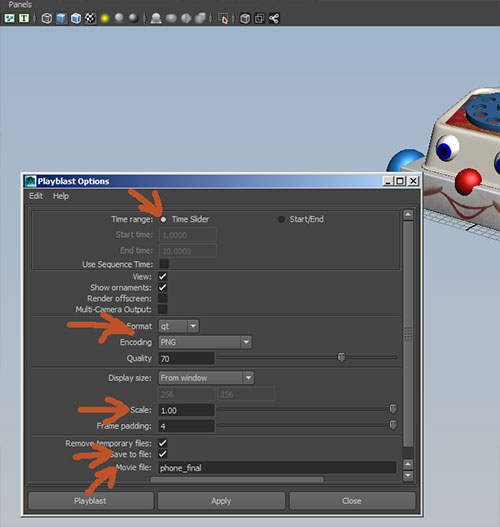
Open options for Window->Playblast.
If your time slider is correctly set to start and end frames, you can use the default Time range as the Time Slider, otherwise click Start/End and manually enter your start and end frame numbers.
Set Format to qt.
Set Scale to 1.00
Check Save to File
and enter a file name under Movie file
then click Playblast:
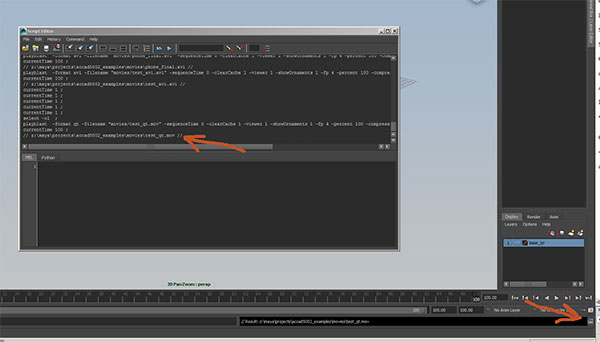
A saved version of the file should be in your project area in the movies directory.
If you are having trouble finding your movie, check the script editor (script editor icon is in the lower right of the screen).
Create a folder with your final scene, all of your texture files, and your playblast. Name the folder:
<last_name>_project_1
and copy the folder into Y:\Courses\2013-2014\AC5002_Conroy_AU2013\Assign_1_Drop_Box